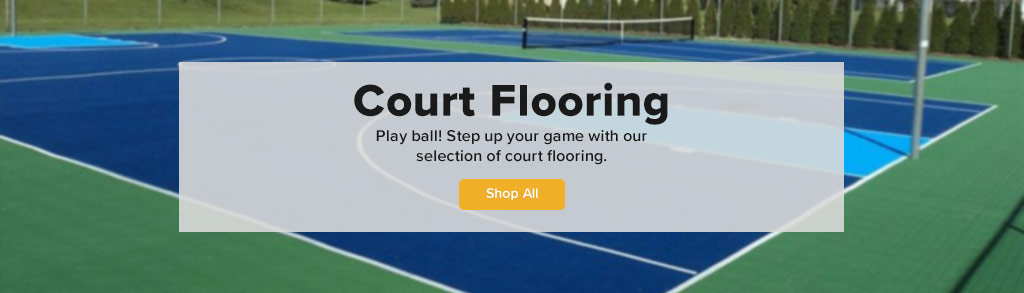
Shop Home Basketball Court Flooring
All Basketball Court Flooring
- Durable indoor and outdoor court options
- From install to play in a matter of hours
- Available in various colors and court sizes
Shop Now
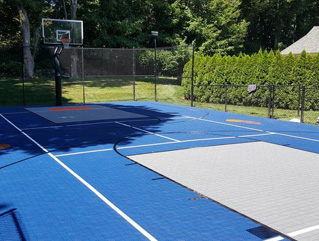
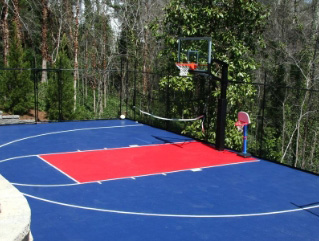
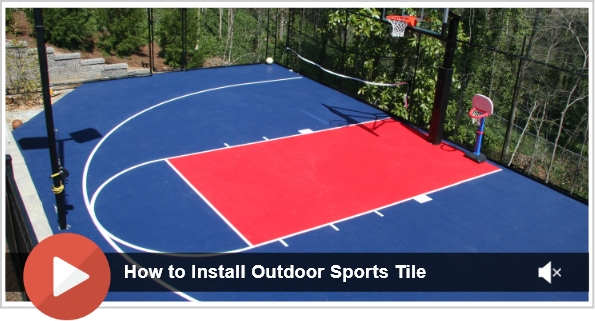
Outdoor Basketball Court Flooring
- Slip-resistant surface
- Easy to clean and maintain
- Won’t fade in the sun
Shop Now

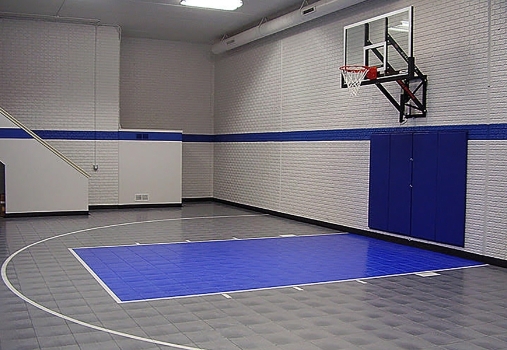
Indoor Basketball Court Flooring
- Resistant to staining, water, mold, and mildew
- Simple DIY installation
- Vibrant colors and patterns
Shop Now
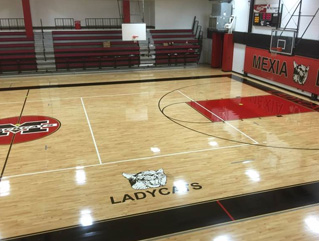
Hardwood Basketball Court Flooring
- Durable, solid hardwood
- Innovative DIY installation
- Professional sprung-hardwood court flooring
Shop Now
Basketball Court Flooring Kits
- Easy premade court flooring kits
- Range of sharp colors
- Great multi-sport game court
Shop Now
Customer Favorite Basketball Court Flooring
Reviews for Home Basketball Courts
Basketball Court Flooring FAQ
About Basketball Court Flooring
Want a home basketball court for your backyard or basement? You can have it in a snap with DIY-friendly court flooring!
You might wonder why you can’t just play on a concrete pad, but this has some drawbacks. Wood or hard plastic court flooring is safer because it’s more shock-absorbent than concrete. It provides excellent support while you play basketball at home.
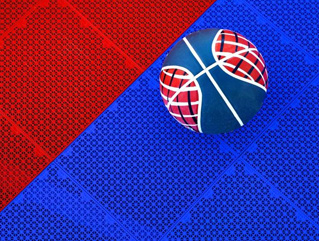
Basketball court flooring is also a lot more stylish. A plain concrete surface is nothing compared to a patterned court with bold colors. Plus, you can use our court flooring designer to create the custom, full-size court of your dreams.
Keep reading to learn about the pros and cons, installation, and more.
You might wonder why you can’t just play on a concrete pad, but this has some drawbacks. Wood or hard plastic court flooring is safer because it’s more shock-absorbent than concrete. It provides excellent support while you play basketball at home.
Basketball court flooring is also a lot more stylish. A plain concrete surface is nothing compared to a patterned court with bold colors. Plus, you can use our court flooring designer to create the custom, full-size court of your dreams.
Keep reading to learn about the pros and cons, installation, and more.
Benefits of Home Basketball Court Flooring
- Durable: Almost all our hard plastic court tiles are UV stable and made to withstand heavy foot traffic for years to come.
- Absorbs impact: This flooring protects your joints as you jump and run.
- Style: Choose from a range of bold colors that you can mix and match.
- Versatile: It’s the ideal multi-sport flooring. Enjoy basketball, volleyball, tennis, and more.
- Low-maintenance: To keep it clean, just sweep your court or rinse it with a hose, and you’re done!
- Non-slip surface: The textured surface offers the perfect amount of traction for fancy footwork.
- Cooler than concrete: These plastic tiles stay cooler than concrete in the summer heat.
Installation
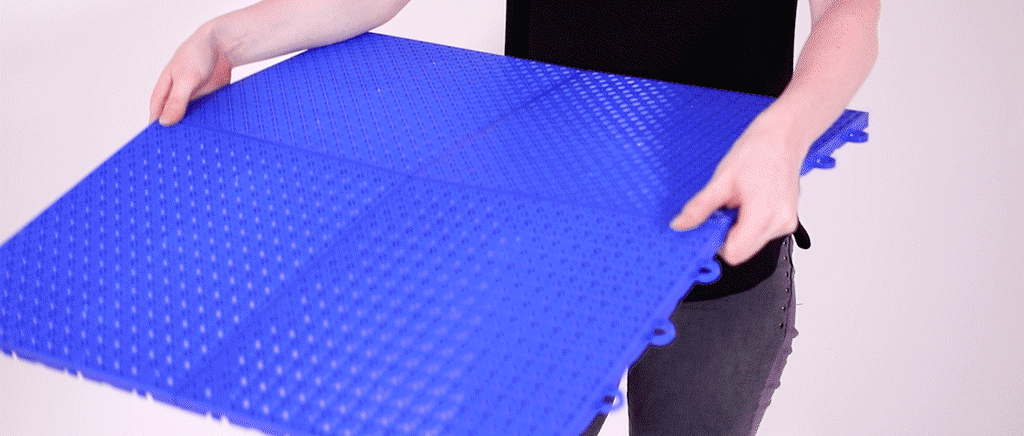
Sports tiles are the easiest way to install court flooring in your backyard. Just snap them together to create a home basketball court in hours.
- Start with a clean, dry, and level surface.
- Place the first tile at one corner of the court. Ensure the peg sides face outward and both looped sides face inward.
- To connect tiles, insert the pegs into the loops of an adjacent tile, and step down on the connected edges to snap them together.
- Continue installation, creating an L shape along the perimeter. Leave a 3/4” expansion gap between the tiles and any vertical surfaces. This will prevent buckling as the flooring reacts to temperature changes.
- Once two sides of the court are complete, fill in the rest of the area until it is finished.
- If you also purchased edge pieces, install them now. Just snap the pegs into the loops of the tiles. These pieces also come with attachable loops to secure them to the peg edge of a tile if necessary.
Court Flooring Buying Guide
Have you always wanted to practice and play basketball at home? Now you can with home basketball court flooring. Here you can get the best information about court flooring to shop smart!
In this buying guide, you’ll get an in-depth look at the different kits, sizes, and accessories we have to take your basketball game to the next level.
Learn More
In this buying guide, you’ll get an in-depth look at the different kits, sizes, and accessories we have to take your basketball game to the next level.
Learn More