
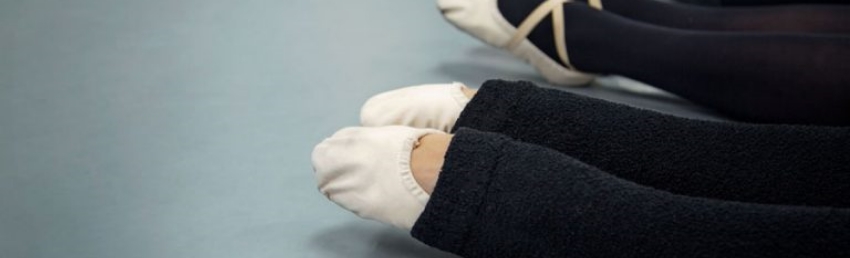
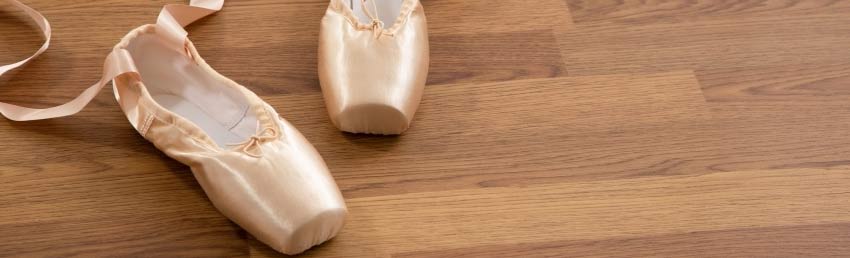
How to Choose the Best Ballet Dance Flooring
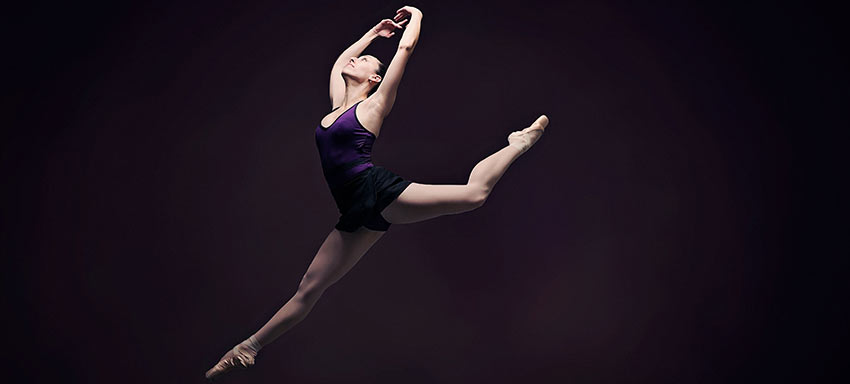
Ballet dancers know just how demanding this sport is on your body and the importance of keeping your body healthy. That’s why finding the right ballet dance flooring is so crucial.
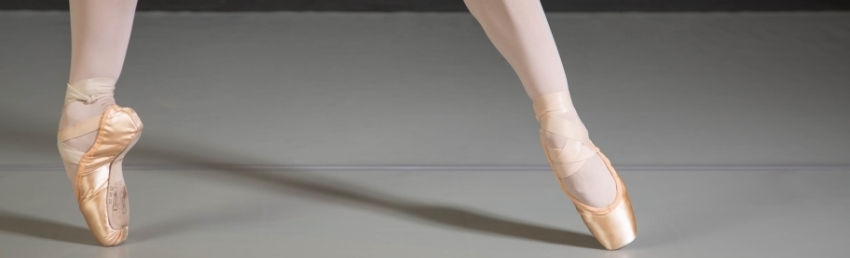
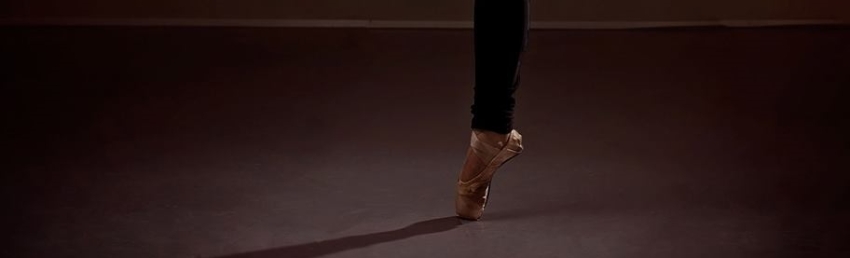
When choosing ballet dance flooring, you need to make sure your floor has the proper amount of slip control. Traditional ballet floors are specifically engineered to offer just the right amount of traction to allow for triple pirouettes while keeping you from sliding to the ground when you land your grand jete.
Many places use a Marley ballet floor – a slip-control rolled vinyl floor. Hardwood dance flooring is another great option if it’s properly sprung.
If you’re feeling a bit overwhelmed by the choices, don’t worry! This guide will help you find the perfect floor for your studio, school, companies, or wherever you’re performing your pirouettes.
How to Choose Ballet Dance Flooring
As you decide on the perfect ballet flooring for you, there are some important factors to consider:
- Durability: Ballet requires hours and hours of practice, and that means a lot of wear on your floor. You need something that’s going to last.
- Grip/slip: When you perform ballet, you need to be able to spin freely, but without losing control. That requires a balance between slip and grip. The great news is that virtually all vinyl Marley rolls and hardwood floors have the ideal surface for this dance style.
- Portability: Are you setting up a studio or a home practice area? Then hardwood or a heavier, more permanent Marley will work for you. If you plan to go on tour, look for a lighter Marley roll to make transportation a bit easier.
The Best Floors for Ballet
Marley or hardwood dance floors are the most common options for ballet, and the best option for you depends on your needs. Here are our top recommended ballet dance floors to help you make a decision. Want to learn more about Marley floors – click here for our full Marley flooring guide.
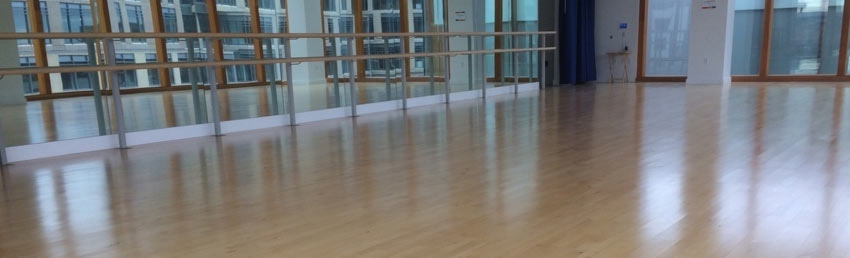
Hardwood Dance Flooring
For real professional ballet flooring, hardwood dance flooring is the way to go. It’s not only beautiful to look at but also high performance and durable.
With hardwood, you have to ensure the subfloor is sprung to reduce the chance of an injury. Once that’s taken care of, you can enjoy how durable and beautiful it is. Out of all the flooring options, hardwood dance studio flooring is built to last the longest.
Plus, nothing compares to the safety and underfoot feeling of a real hardwood dance floor. It can work in other places beyond just studios. Choose it for competition dance spaces, dance halls, wedding venues, and event spaces.
Hardwood Flooring Installation Options:
- Permanent
ProStep Dance Floor
These Marley rolls are perfect for ballet at any skill level and can be used in the home or studio. It’s a low-cost, reversible floor that’s backed by a 3-year warranty.
ProStep Dance Floor Rolls are lightweight and durable enough to be used as dance tour flooring. They’re also versatile, so you can use them for other dance styles as well.
This high-quality dance roll has a controlled slip matte surface finish to keep dancers safe. You can order this roll at a custom length to make installation even easier.
Installation Options
- Semi-permanent
- Temporary
VersaStep Dance Rolls
VersaStep Dance Rolls are suitable for all popular styles of dance, including ballet. The controlled slip surface allows for the perfect surface that is durable and long-lasting.
Our durable VersaStep rolls are built to last, boasting an impressive 5-year warranty. They provide the perfect dance surface for professional dance studios as well as in-home use.
This budget-friendly flooring is competitively priced, making it perfect for personal use as well as larger studio use where a budget is important. Best of all, you can have the length custom cut to perfectly fit your space.
Installation Options
- Permanent
- Semi-permanent
- Temporary
Rosco Dance Floor Rolls
Rosco Dance Floor Rolls are the premier ballet dance flooring. They have just the right combination of slide and grip, providing a medium-fast speed. And the floor has the perfect resiliency to support dancers of all skill levels, especially en pointe.
Our Rosco Dance Rolls are designed to be portable and convenient for touring companies. However, you can install them semi-permanently in your studio, as well.
Our light and portable dance floor rolls are also great for jazz, contemporary, hip hop, and more.
Our Rosco Dance Rolls are designed to be portable and convenient for touring companies. However, you can install them semi-permanently in your studio, as well.
Our light and portable dance floor rolls are also great for jazz, contemporary, hip hop, and more.
Installation Options
- Semi-permanent
- Temporary
Adagio
The Adagio roll is the most popular and versatile dance flooring option. If you have Marley installed right now, I’d be willing to bet it’s the Adagio floor.
If you need a dance flooring option that you can use for ballet, tap, jazz, contemporary and more, the Adagio is where it’s at. Adagio dance flooring rolls are medium-fast, offering just enough slip-resistance to keep you safe without getting in your way of hitting your turns.
If you need a dance flooring option that you can use for ballet, tap, jazz, contemporary and more, the Adagio is where it’s at. Adagio dance flooring rolls are medium-fast, offering just enough slip-resistance to keep you safe without getting in your way of hitting your turns.
Installation Options
- Permanent
- Semi-permanent
- Temporary
Adagio Tour
Just like our Adagio floor, but a little lighter, and more portable. The keyword here is “tour.” These rolls are great for touring companies.
The thin, lightweight Adagio Tour rolls are still plenty durable to stand up to hours of ballet class. They’re simple, easier to move, and even better for tap than the original Adagio rolls. If you have a shared space, they might be perfect for you.
However, if you’re planning on doing a permanent installation in a ballet-only studio, I’d recommend taking the step up to the regular Adagio rolls.
Installation Options
- Temporary
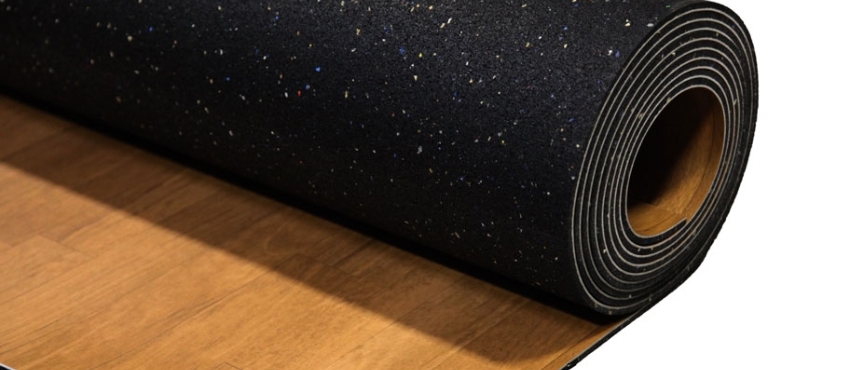
Impact Rolls – Wood Series
These are the most beautiful, convincing, and durable wood-look dance flooring rolls on the market. The Impact Rolls are thick and durable enough to hold up to everything from dance, to gym flooring and more.
Our impact rolls are like attaching a vinyl Marley roll to a 5mm rubber underlayment. These can be especially helpful if you don’t have a sprung subfloor*. These rolls are also versatile enough for jazz, contemporary, and hip hop, as well.
Our impact rolls are like attaching a vinyl Marley roll to a 5mm rubber underlayment. These can be especially helpful if you don’t have a sprung subfloor*. These rolls are also versatile enough for jazz, contemporary, and hip hop, as well.
Impact Rolls Installation Options
- Permanent
- Semi-permanent
Eco-Wood Dance Mats
This dance roll is foam-backed to reduce leg stress and injuries. The resilient vinyl top layer provides wonderful ‘slip’ for the perfect pirouette.
This dance flooring roll is a budget-friendly alternative to hardwood flooring. Plus, our Eco-Wood mats come in smaller size options, making them perfect for smaller studio spaces operating on a budget, or even at home studios.
This dance flooring roll is a budget-friendly alternative to hardwood flooring. Plus, our Eco-Wood mats come in smaller size options, making them perfect for smaller studio spaces operating on a budget, or even at home studios.
Eco-Wood Dance Mats Installation Options
- Permanent
- Semi-permanent
- Temporary
Ballet Dance Subfloors
Your dance subfloor shouldn’t be an afterthought. For a safer setup, you need a sprung floor subfloor or home dance subfloor.
Whether you’re a studio, school, or professional company, the last thing you want is injured dancers. And the best way to reduce injuries is to start with a dance subfloor.
The subfloor absorbs and distributes the dancer’s weight, which allows dancers to continue to jump, leap and roll with a lower risk of injury.
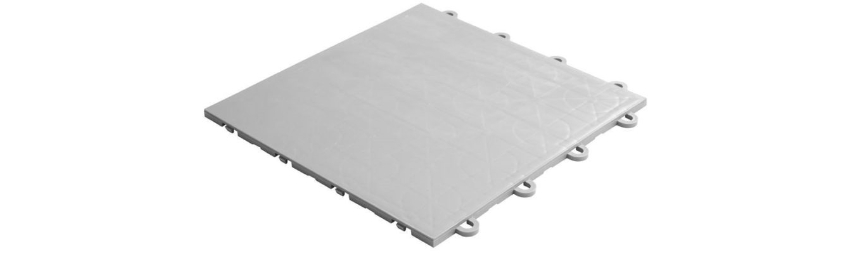
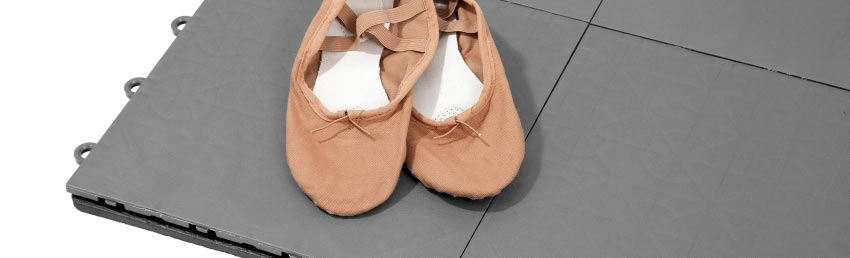
Flat Top Dance Tiles
Our Flat Top Dance Subfloor Tiles are the perfect solution for ballet. They provide enough firmness for pointe, while springy enough to absorb impact from leaps and turns.
These tiles are constructed from a single molded piece and are durable from top to bottom. They’re perfect both for practice in the home and for use in studios.
Flat Top Dance Tiles are the perfect solution underneath your Marley flooring or for use on their own for tap dance practice.
These tiles are constructed from a single molded piece and are durable from top to bottom. They’re perfect both for practice in the home and for use in studios.
Flat Top Dance Tiles are the perfect solution underneath your Marley flooring or for use on their own for tap dance practice.
Premium Home Dance Subfloor Kit
If you need a home dance subfloor that’s firm enough for pointe work, this is the solution for you. Our Premium Home Dance Subfloor comes with our cushioned home dance subfloor tiles as well as durable and firm athletic plastic tiles for a sturdy surface finish.
This system interlocks within each layer without the need for glue. That means you can easily install, uninstall, and move this dance subfloor anywhere you need it.
It’s not just for the home, either! This professional option is great for use with a traveling studio as well. It’s perfect for any skill level of dancer, providing the shock-absorbing and durable floor that is needed.
How to Install Ballet Flooring
The steps to install dance flooring depend on the type of flooring you choose. Dance flooring rolls are very DIY-friendly compared to hardwood dance floors, but those hardwood floors will last longer.
No matter what you choose, we’ve got step-by-step instructions to install your floor, so you can start dancing sooner.
No matter what you choose, we’ve got step-by-step instructions to install your floor, so you can start dancing sooner.
How To Install a Marley Floor
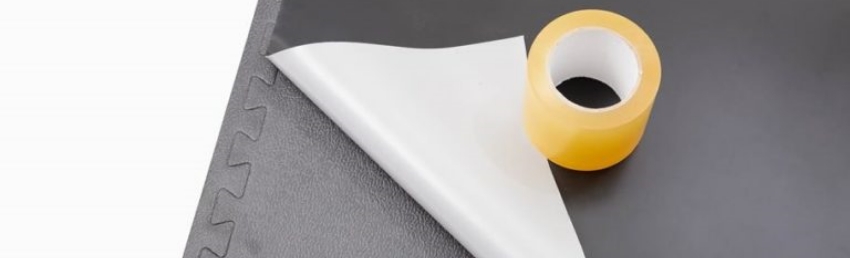
If you’re installing at home, you might not want to have the flooring forever, so you need a temporary solution. That’s why you’ll first learn how to lay Marley dance floor rolls with double-sided tape. It provides a durable hold without being impossible to remove.
- Unroll the vinyl dance flooring and let it rest for 1-2 days to allow it to relax until it lays flat. Install the shiny side down, matte side up. The performance floor (top) is textured slightly, called calendaring which looks like tiny goosebumps.
- Use a straight edge and a utility knife to make any necessary cuts to the rolls. Be sure to leave a 1/4″ gap around the rolls to account for expansion and contraction from temperature changes.
- Apply double-sided carpet tape to the underside of each roll around the perimeters, and firmly press the edges to the floor, ensuring there are no ripples.
- If you’re installing over foam subfloor tiles and you have excess around the edges, tape this perimeter down to your main floor using Mat Tape, creating a ramp or tapered installation. If you’re installing over foam tiles and there isn’t extra around the edges, tape down the perimeter of the roll directly to the subfloor tiles using Mat Tape.
- On top of the flooring, use mat tape or dance floor tape to join the seams of multiple rolls together.
How to Install Hardwood Dance Flooring
Note: These steps work with our hardwood dance planks, but may not be compatible with other hardwood dance flooring. That’s because our hardwood flooring is specifically designed to be DIY-friendly.
Below are the basic steps, but you should refer to the manufacturer’s instructions for the full details.
Below are the basic steps, but you should refer to the manufacturer’s instructions for the full details.
- Start with a subfloor that is level, clean, and dry. Install a vapor barrier over concrete if the area is at or below ground level.
- The manufacturer will often recommend a supportive underlayment. Roll out a sports foam support layer perpendicular to the planned direction of the planks, and tape the rolls together.
- Lay the initial planks face-down on the foam, parallel to the length of the room. Hammer the included clips into the holes on the bottoms of the planks. These clips will connect to adjacent planks along the length of each plank.
- Use adhesive in the joints to connect the tongue and groove head joints of each plank. Stagger the plank head joints in a random pattern, leaving at least 18” between each joint on 6’ planks, and 30” of space on 12’ length planks.
- As you install, use spacers around the edges of the room to ensure the proper amount of space for expansion. For every 10’ of width, add 1/4” to the expansion gap on both sides.
- The very last row of planks should be glued to the adjacent row along the length. No other rows should be glued together along the length.
- Finally, remove the spacers around the edges of the floor and install the trim and transition strips.
Ballet Flooring Maintenance
Keeping your ballet flooring clean is very simple. Just sweep/vacuum away any dust or dirt, and a damp mop with a mild cleaning solution.
For best results, use this dance floor cleaner daily and do a deeper clean with this heavy-duty dance floor cleaner a couple of times per year or as necessary.
If you end up with scratches, you can give it a more careful scrub. But, generally speaking, it’s really just as easy as taking care of any home floor. Just make sure to clean up spills right away and you’ll be good to go!
Conclusion
Finding the right ballet dance flooring doesn’t have to be an impossible chore. With the recommendations in this guide, you can find durable flooring that will support you through every practice and performance.
Ready to get started?
Ready to get started?